How I Did a Gut Renovation in 8 Weeks
2018 was a hell of a year. Not only did I go through a major career transition, but we also bought a house, renovated, planned two weddings (one in San Francisco and another in Taiwan), and got married.
A thought that recurred throughout that period was, “A year from now, everything will be still.” And here is where I’ve emerged, on the other side of the chaos into a stillness that’s uncanny compared to the year before. So, I suppose it’s time to do a post-mortem on how exactly I pulled off a full gut renovation in eight weeks. Well, first off, I didn’t do it alone. I had the support of my now-husband and a hell of a contractor.
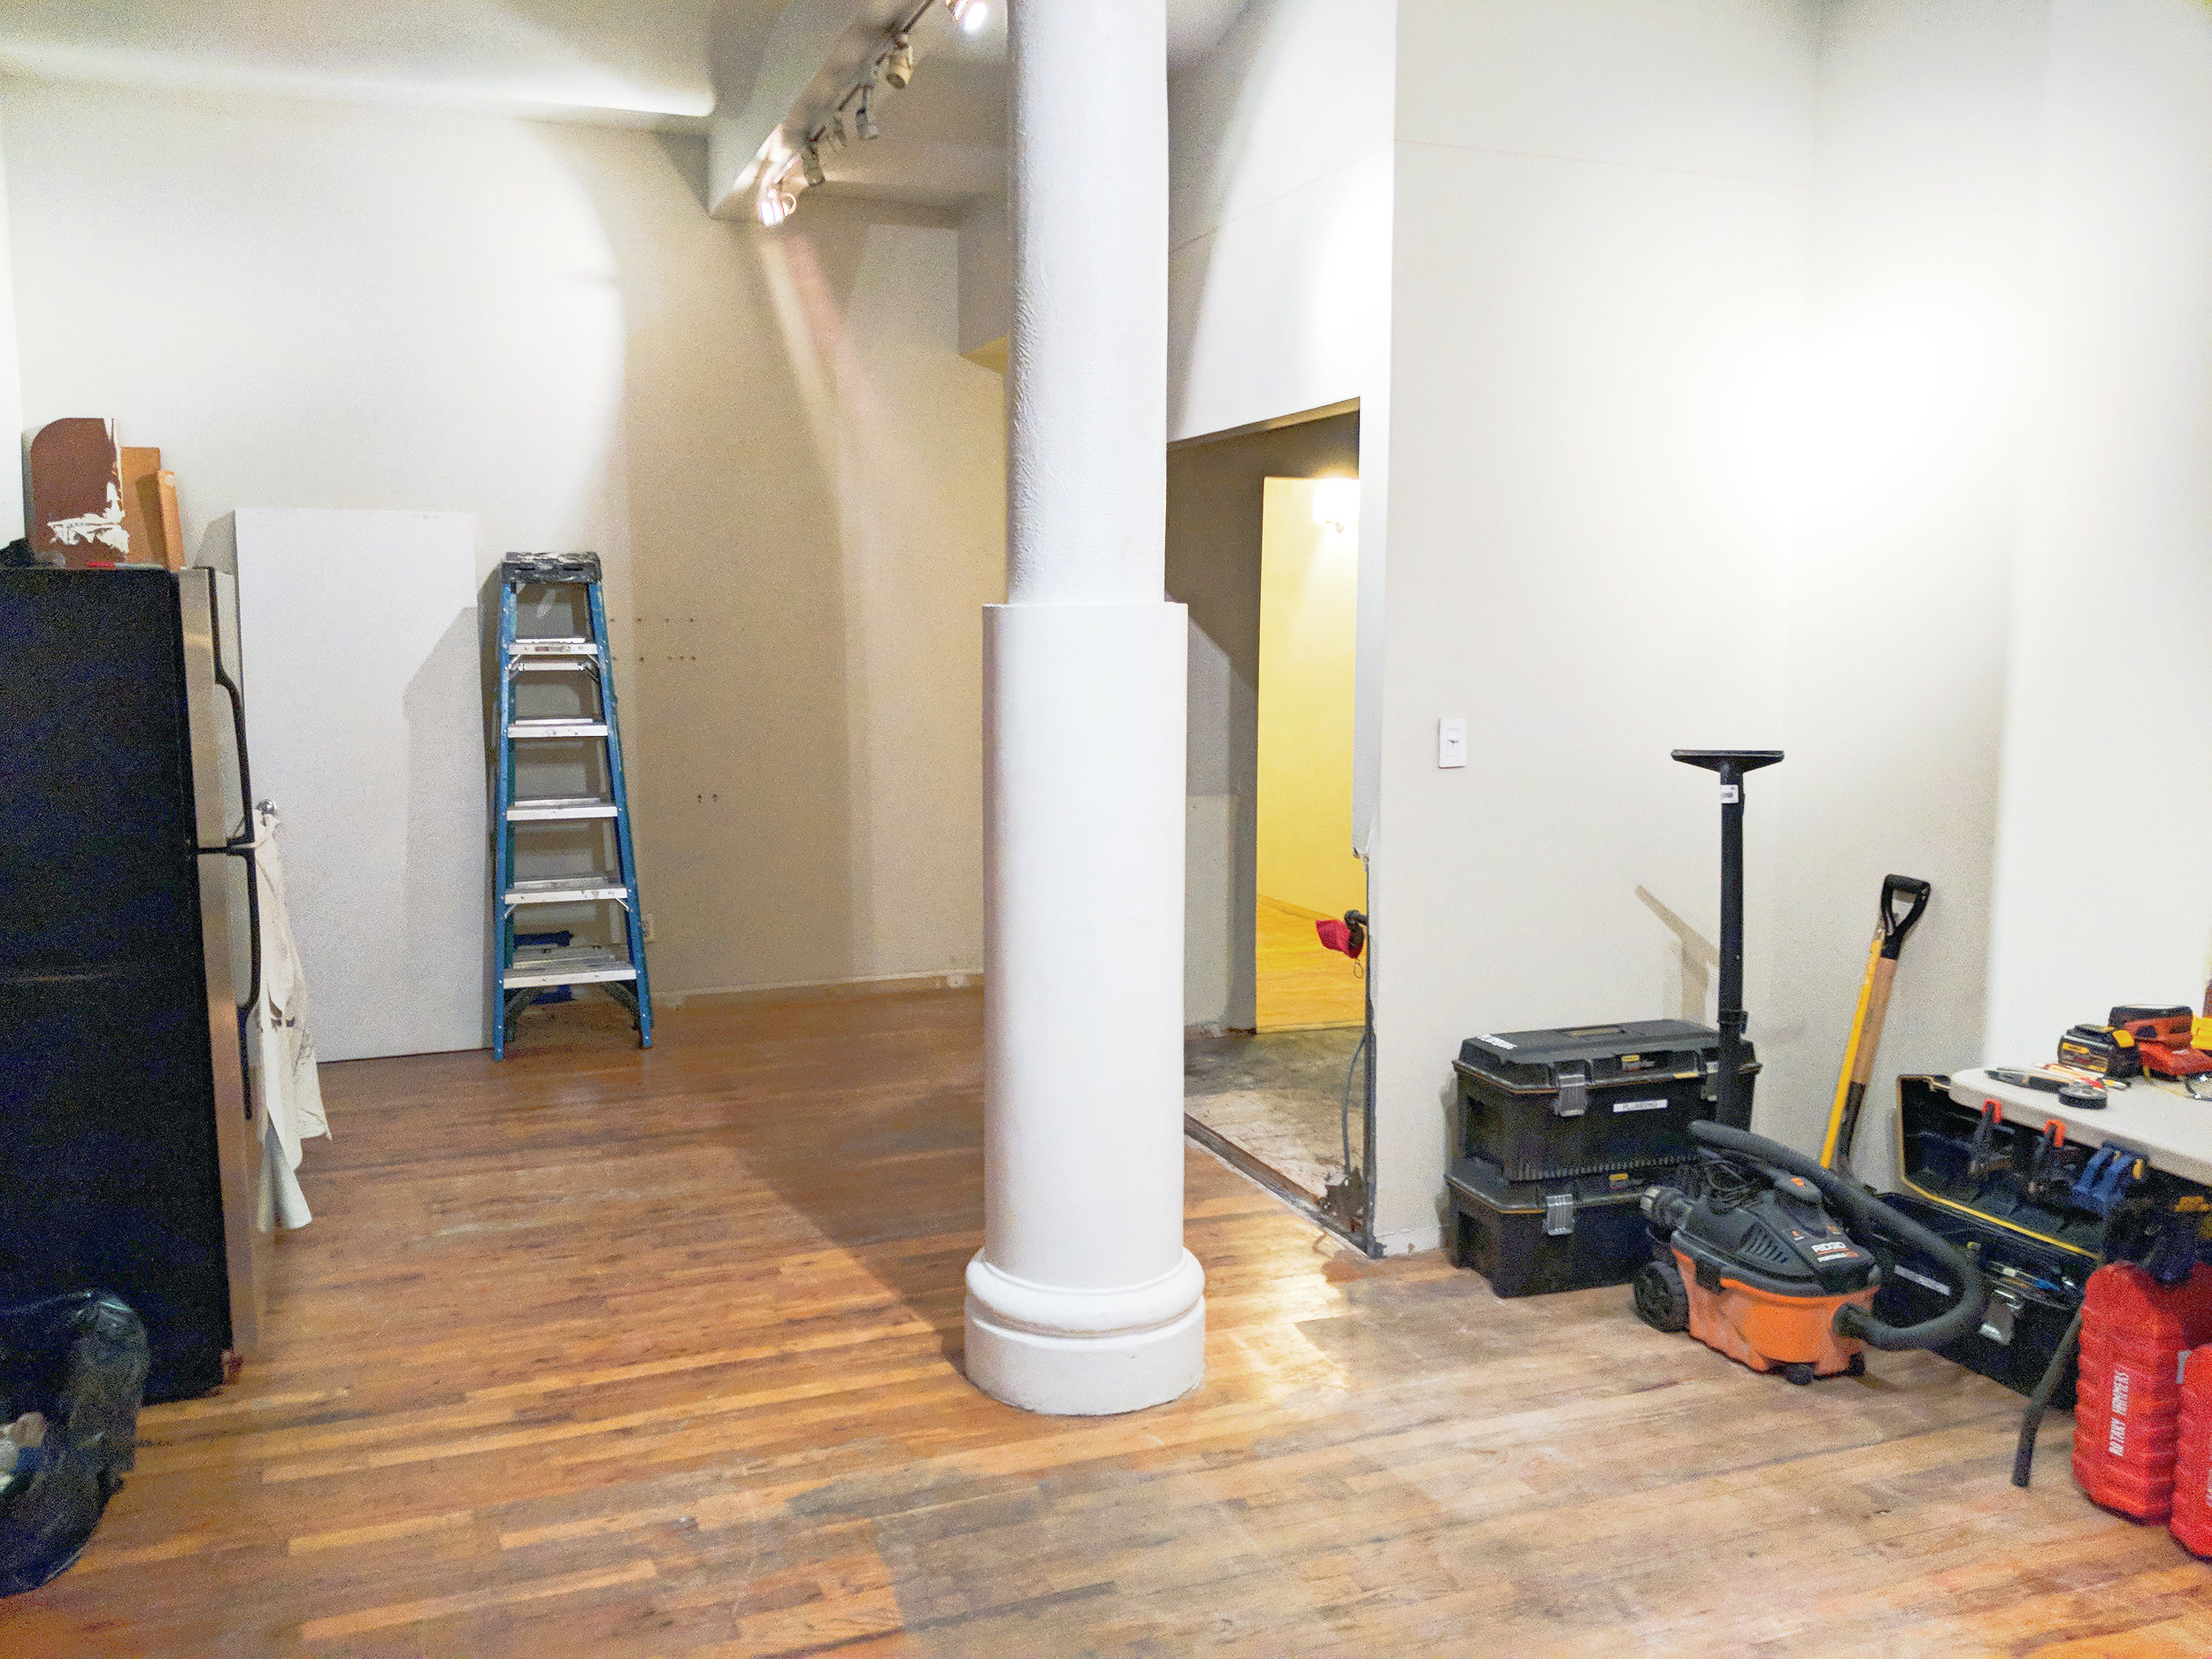
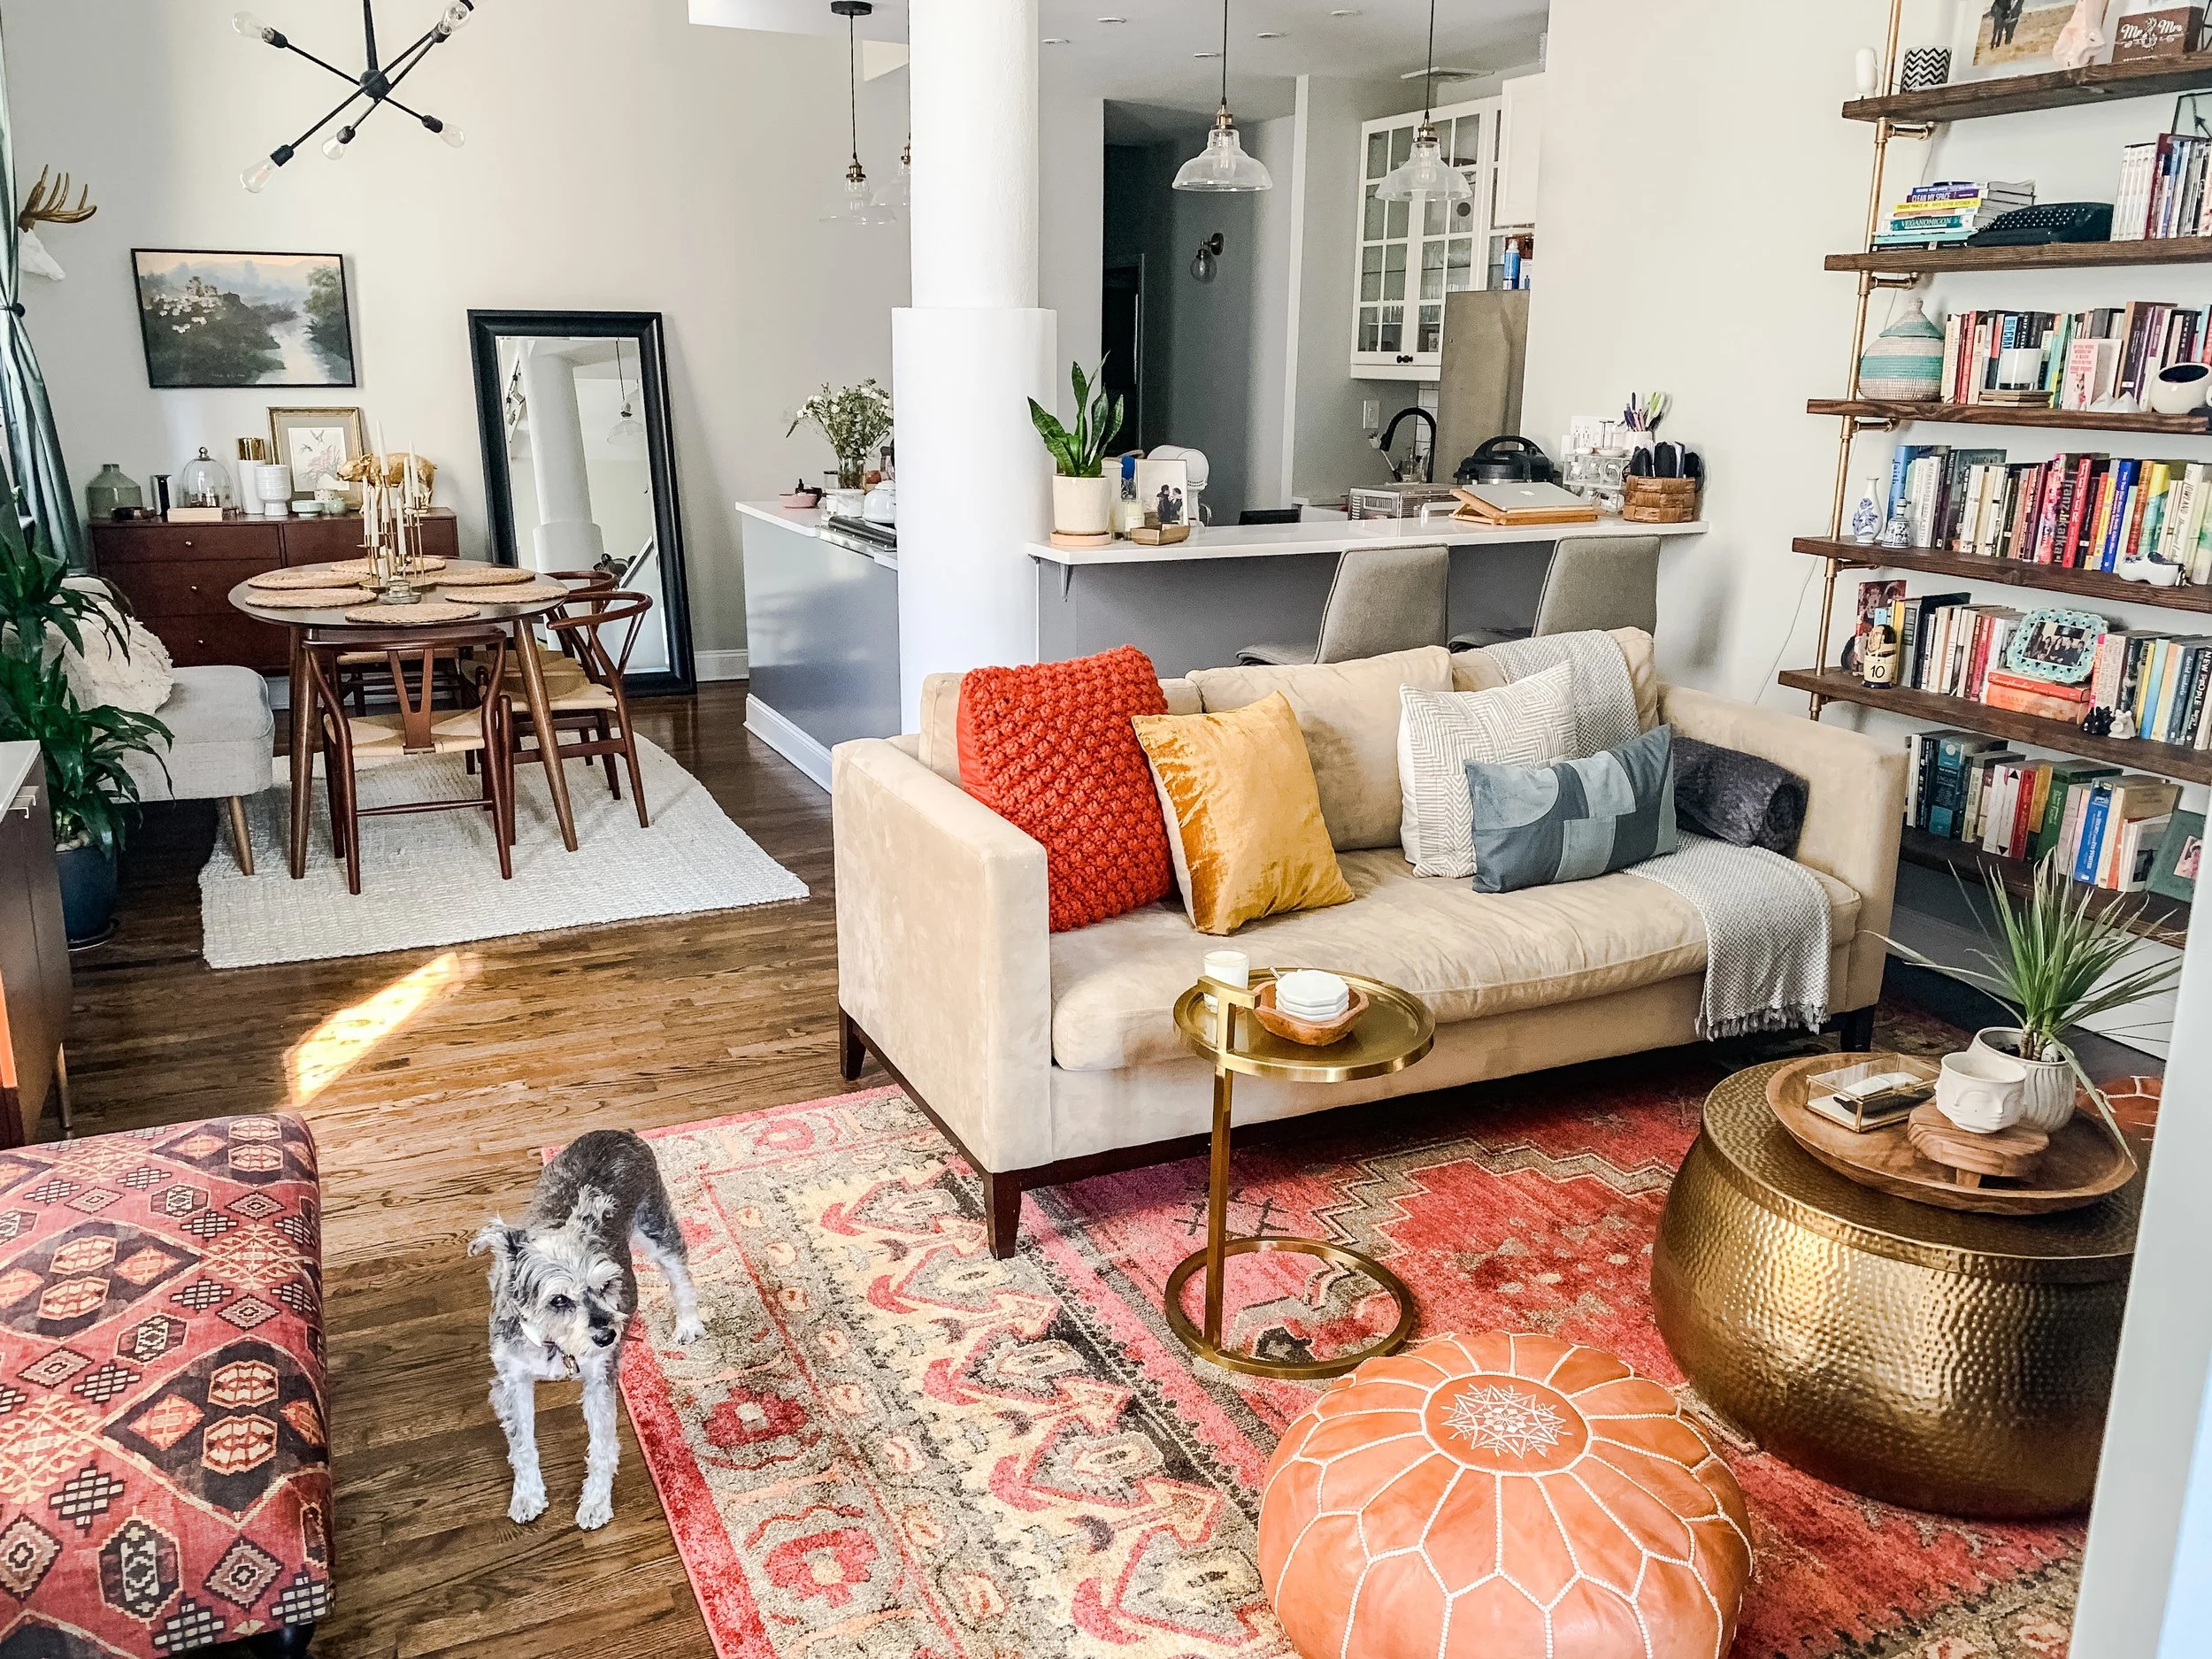
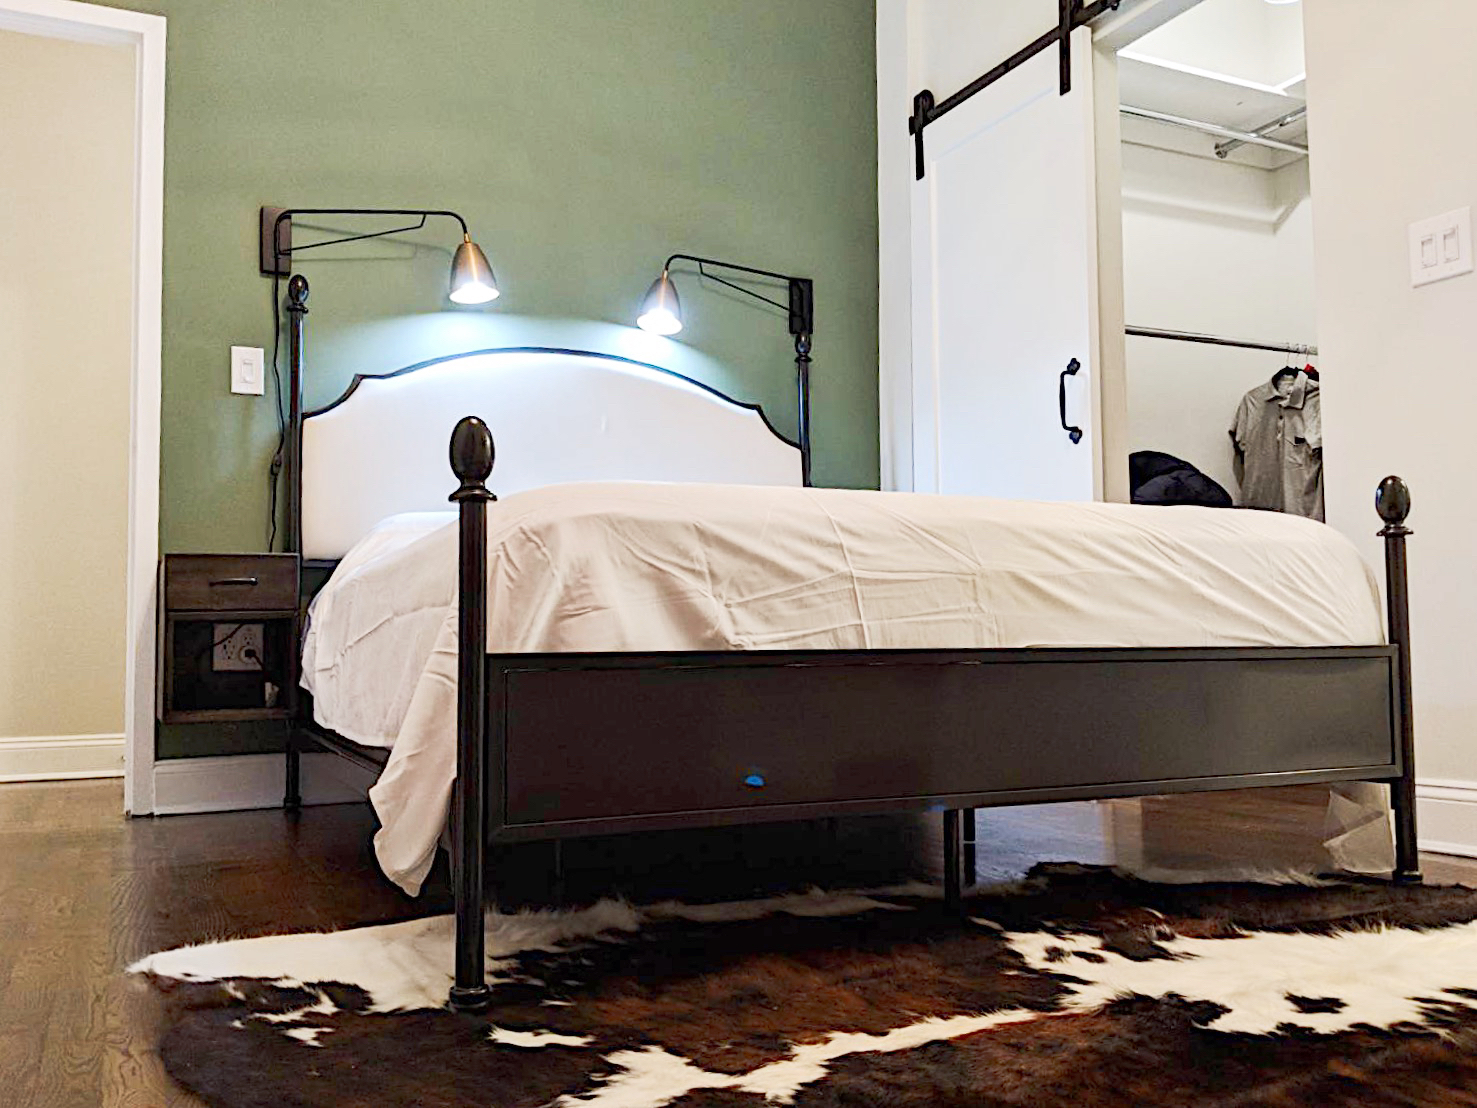
The apartment had good bones. This was pretty critical for how we eeked out a reno in less than two months. While everything was essentially ripped out, what made the job easier was that we don’t have any load-bearing walls in our space. Our pre-War building is a former book publishing factory and consisted of mostly open space and high ceilings (to make room for the machinery), which translated really well when it was converted into apartments. We have three structural pillars in the house: one embedded in the master bedroom wall, one free-standing in the kitchen, and another buried in the wall of the office. For obvious reasons, they couldn’t be touched, but we were free to take down and move anything else.
We hired the right contractor. We interviewed a number, but we decided to hire our contractor because he was the most reasonable. He worked with a sense of urgency, mainly because he had projects sandwiching our own, which meant he didn’t have time to spare trying to run up the prices on superfluous projects. And you know what they say, if you want something done, give it to a busy person. He also had ample experience working in NYC, and thus plenty of great vendor contacts, which we definitely tapped into to find bargains on fixtures and finishes. He also understood the rules of permitting a renovation quite thoroughly. If it required a permit, we weren’t going to do it, since waiting on the city to issue permits is… slow.
Custom wasn’t an option. This was probably one of the most important rule I abided by during the renovation. As soon as someone said that didn’t have something, but they could make it for us, I pivoted my design. Custom meant dollar signs and long lead times, which with a wedding four months away and the lease ending on our rental in two months, we simply didn’t have time.
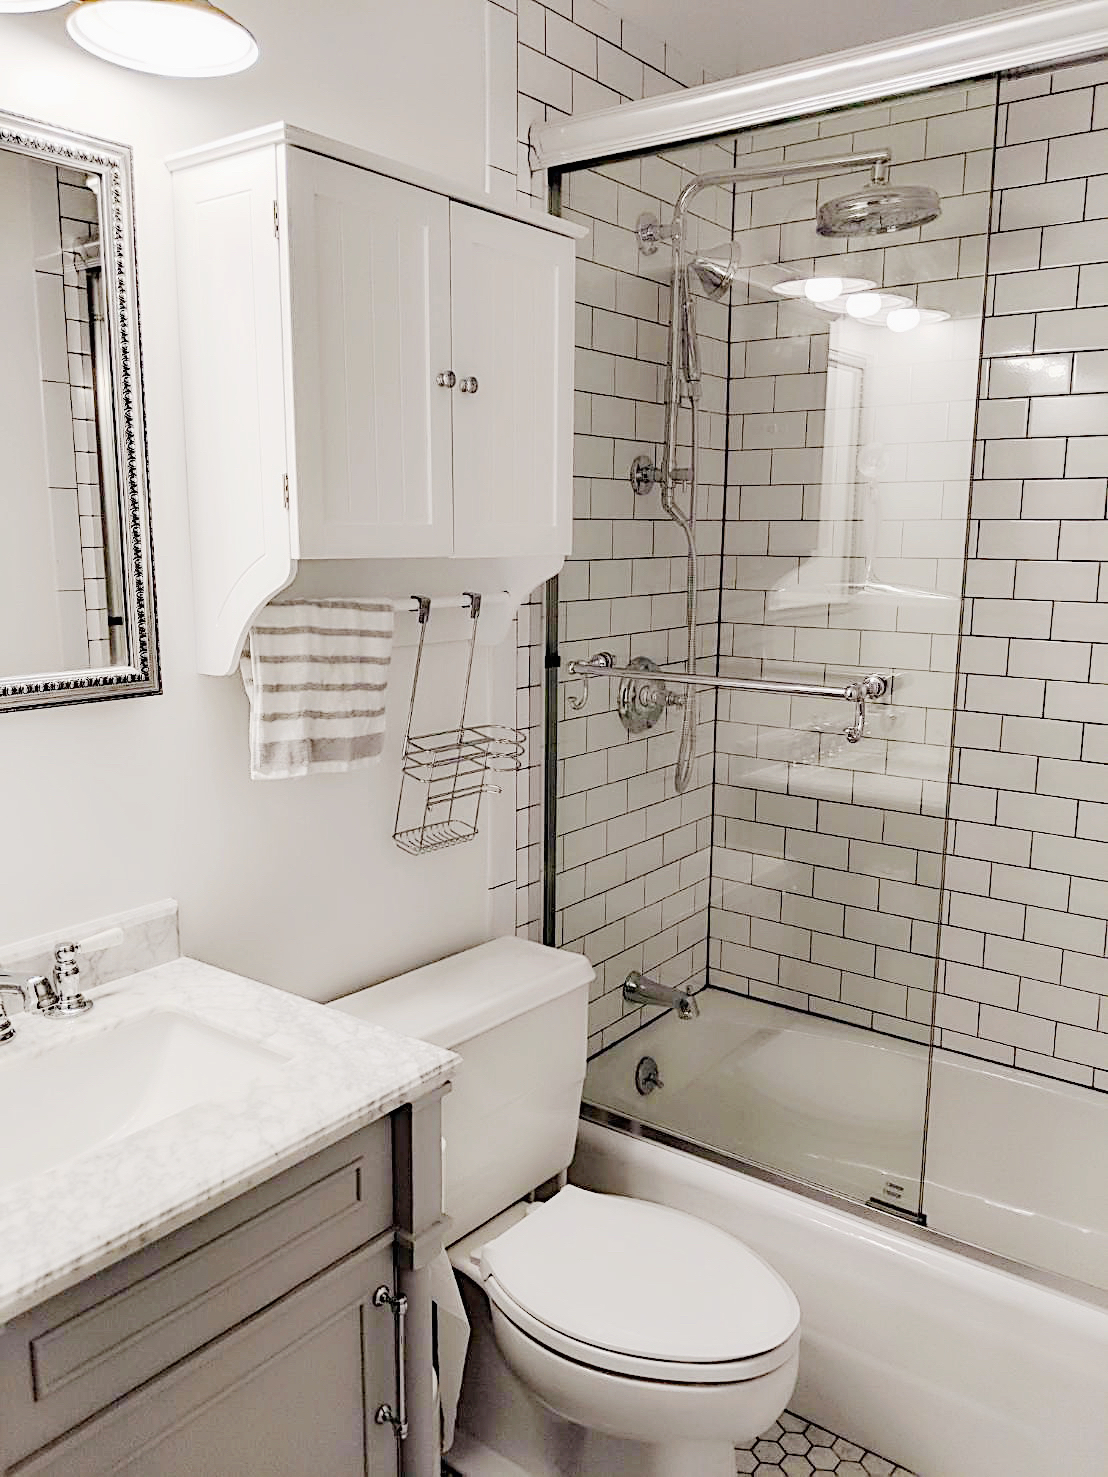
We went with finishes that were in stock. When I was selecting finishes and fixtures, I always checked with the vendor twice or thrice to be sure they were only showing me what they had in their warehouse so I could ensure the shortest lead time possible. While I had a design plan (thanks, Pinterest), I wasn’t committed to a specific tile from a specific brand, so I wasn’t disappointed when it wasn’t in stock.
I relied on verified customer reviews. Several of our fixtures came from online (I’ll do another post at a later date of incredible online companies that will make your renovation a breeze), and so I was often buying things sight unseen. If you ever have a showroom nearby that you can visit, I would recommend going to the showroom AND THEN going online to purchase. There are often better deals online. However, I only purchased fixtures that were well-reviewed, and in that process, it was particularly helpful to see customer-taken photos.
Sometimes it was worth giving old things new life rather than replacing. Our apartment comes with original wood flooring that was looking a little worn. In the time since they were installed, our management implemented a new rule that any newly installed flooring would have to include a layer of sound-proofing. Rather than ripping out the floors, then installing sound proofing, then reinstalling new flooring, we decided to strip the wood and refinish it with a rich ebony. As for sound-proofing, we went with thick carpets, which works just as well. ;)
If you have any questions you want me to answer more specifically, just ask in the comments below. I’ll likely be writing more renovation posts, so stay tuned.
